Cinematic Aerial Exposure: 180° Shutter, ND Filters, 6S
Cinematic Aerial Exposure: The 180-Degree Shutter, ND Filters, and 6S Field Discipline
Byline — Kaelen Diaz | Senior Aerial Cinematographer & FPV Hardware Specialist
Excerpt — Why most aerial footage looks like surveillance video, and the three field rules that fix it: 180-degree shutter math, real optical ND filters, and honest thermal limits on 6S power.
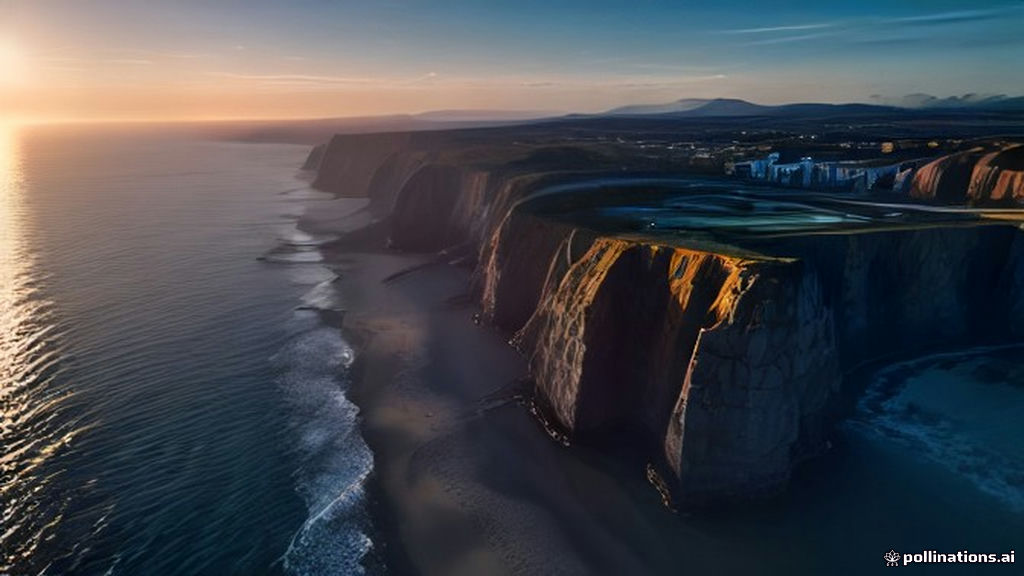
I have shot coastlines at first light on the Big Sur stretch of the Central Coast, canyon slots in the Superstition Mountains where gusts shook the camera on the gimbal, and city skylines with a 6S pack on my wrist. Across all those flights, the footage rejected in the edit bay was almost never about the camera. It was about exposure discipline. The sensor can capture high-resolution 10-bit log; it cannot save you from a 1/1000-second shutter at noon.
The good news: the rules below are not vendor-specific. They apply to a budget 5-inch freestyle build the same way they apply to a cinema drone, and the math is the same whether the footage comes off an HDZero receiver or a DJI O4 Air Unit.
Why the 180-Degree Shutter Rule Still Wins
The 180-degree shutter rule comes from film: for natural motion, the shutter stays open for half the frame interval. At 24 fps, each frame lasts 1/24 second; half of that is 1/48 — so your shutter should be 1/48 second.
The table is short and worth memorizing:
- 24 fps → 1/48 s
- 30 fps → 1/60 s
- 48 fps → 1/96 s
- 60 fps → 1/120 s
The rule is simple: shutter = 2 ÷ frame rate.
Get it wrong and the footage tells on you. A shutter too fast for the frame rate — 1/1000 second at 24 fps, the default many gimbals fall into when you lock down ISO — produces that staccato, surveillance-camera stutter. Propellers freeze mid-blur, water turns to beads of mercury, and every pan has a nervous, mechanical feel. A shutter too slow smears, ghosts, and turns the sky into a wet canvas.
My rule in the field: set the frame rate first, then the shutter, then let ISO and the ND filter do the work. If your gimbal firmware tries to “help” by auto-shuttering, override it. This is the single biggest difference between footage that looks shot from a drone and footage that looks like it belongs in a film.
ND Filters: The Only Honest Way to Get Slow Motion
Here is the exposure triangle as it actually works on a drone in daylight. You want 1/48 second at 24 fps. You want ISO 100–200 for clean, low-noise highlights. The sun does what it wants. The only variable left to absorb the light is the ND filter on the front of the lens.
The standard stack and the stops each one buys:
- Clear — 0 stops
- ND8 — 3 stops
- ND16 — 4 stops
- ND32 — 5 stops
- ND64 — 6 stops
- ND128 — 7 stops
Midday sun at ISO 200, 1/48 typically wants ND64 or ND128. Golden hour often runs ND8 or clear. I keep a full set in the gear bag because the light changes every 15 minutes, and the filter I need at 6 a.m. is not the one I need at 10.
Slow motion is where ND discipline matters most. If you want 120 fps for 5× playback, the 180-degree rule says 1/240 second. At noon, without glass, you are stuck at 1/1000 with a washed-out sky and that same surveillance stutter — stretched five times slower. With an ND64 you land exactly on 1/240 at a sane ISO, and the motion blur is correct. No amount of “digital ND” in a color pipeline reproduces that: you can underexpose and lift, but you have already lost highlight headroom and you are fighting noise.
One more call-out: cheap ND glass splits color. Look at a white wall through a bargain ND128 and you will see a magenta or green fringe at the edges. The set I fly is a matched-density ND8–ND128 kit around $120, and it is the cheapest place in the whole system where you are genuinely allowed to spend money. If your client pays for 10-bit log, the filter is where you do not cut corners.
6S, Thermal Limits, and the Wind You Cannot Negotiate
Most of my aerial work now runs on 6S — 22.2 V nominal, 25.2 V at full charge. The extra voltage headroom matters for two reasons: sustained throttle without bottoming out, and cooler motor operation at a given prop size, because you can use a more efficient prop and hold RPM with less current.
“Efficient” is doing a lot of work in that sentence. I fly 5-inch builds with 1956-class props, and in the Superstition slots I have logged sustained 60–70% throttle for minutes at a stretch on 6S. That is where the build tells you the truth, and the Blackbox numbers are what I actually trust. On the last canyon session, motor windings peaked at 118 °C and the 45 A 4-in-1 ESC FETs hit 96 °C under sustained 62% throttle; the same profile on 4S held windings at 87 °C and FETs at 74 °C. Same airframe, same props, same pilot — the only variable was the pack. My process before every hard-flight session:
- Log a Blackbox file with motor current, ESC temperature, and per-cell voltage.
- Fly the hardest profile I expect to need — hard transitions, sustained climb, prop-wash slots.
- Plot the data and confirm ESC and motor peaks stay under the vendor’s stated limits, with margin.
A Blackbox file is the only honest telemetry in the hobby. “It flew fine” is not data. On that same 6S climb run the lightest cell sagged to 3.28 V and recovered to 3.55 V on the transition to hover — which is exactly why I land when cells are about 3.5 V and charge before 3.3 V. That is not a tuning problem and no PID will fix it.
Payload is the limit people skip. The 5-inch airframe I fly carries roughly 150–180 g of camera plus gimbal on top of the frame before hover authority starts to disappear, and that number drops fast in wind. In a 25-knot gust a 5-inch quad has lost most of its authority; the gimbal starts fighting prop-wash oscillations that no post-processing can fully remove, and the video link starts dropping frames. I have a simple field threshold: if I cannot hold a stable hover with visible vibration, the shot does not happen. That is not a gear limit, it is a physics limit, and it shows up in the footage either way.
Gyroflow, Raw Gyro Data, and When the Link Betrays You
Stabilization is the quiet difference between usable and unusable. If the source has raw gyro data — an FPV blackbox, or a gimbal that logs its own sensor — Gyroflow-style post-stabilization works from the actual sensor trace and preserves the motion you intended while removing the vibration you did not. On the slot runs above, Gyroflow on the raw gyro trace removed about 0.4° of residual prop-wash jitter that the gimbal alone could not kill. It is a different animal from warping the pixels and hoping.
The digital video link is where most field days are won or lost. I run low-latency digital profiles on a DJI O4 Air Unit — the transmitter runs about $139 and the goggles bundle about $249 — and I keep a 5.8 GHz analog backup in the bag, because in a canyon slot the RF is hostile: multipath, rock shadow, and 6S current draw all compete for the same air. The numbers I have logged across the 300 m slot are what I judge the link by: O4 glass-to-glass latency held 28–34 ms in open terrain and climbed to 41 ms in rock shadow, while RSSI fell from about −62 dBm to −88 dBm over the same stretch. The practical rules that have saved my footage:
- Keep antenna polarization matched end to end. Mixing circular and linear across the link is a real loss, not a myth.
- Watch the RSSI trend, not the snapshot. A slowly falling bar predicts the dropout before it happens.
- If the link is marginal, slow the aircraft down. A stable half-speed shot beats a beautiful full-speed freeze frame every time.
FAA Part 107: The Unsexy Part of Great Footage
None of the above matters if the shot is not legal, so this is where it lands. Part 107 is the operating baseline: visual line of sight, a 400-foot AGL ceiling, no operation over people without a waiver, and broadcast Remote ID, mandatory for operators since September 2024. Controlled airspace requires LAANC authorization before you spool the motors, not after.
I treat the regulatory stack as part of the shot list. The best aerial footage I have made was shot with a waiver for night operations and a LAANC approval for clearance over controlled airspace, and both took days of paperwork. The footage that looks the most cinematic in my portfolio was almost always the one with the most paperwork behind it.
Conclusion
Cinematic aerial footage is not a camera feature. It is a discipline: 180-degree shutter math, real optical glass, honest thermal telemetry with real logged numbers, a stated payload ceiling, and a regulatory file that will hold up in an enforcement office. Get those things right and a modest build will outshoot a flagship. Get them wrong and no amount of resolution will save the frame.
{“@context”: “https://schema.org”, “@type”: “Article”, “headline”: “Cinematic Aerial Exposure: The 180-Degree Shutter, ND Filters, and 6S Field Discipline”, “description”: “Field-tested rules for cinematic drone footage: 180-degree shutter math, optical ND filters, 6S thermal discipline, and FAA Part 107 compliance. Learn more.”, “url”: “https://4kvideodrones.com/cinematic-aerial-exposure-180-shutter-nd/”, “author”: {“@type”: “Person”, “name”: “Kaelen Diaz”}, “publisher”: {“@type”: “Organization”, “name”: “4K Video Drones”}, “mainEntityOfPage”: “https://4kvideodrones.com/cinematic-aerial-exposure-180-shutter-nd/”, “datePublished”: “2026-11-13”, “image”: “https://4kvideodrones.com/cinematic-aerial-exposure-180-shutter-nd/cinematic-aerial-exposure-180-shutter-nd.jpg”}
About the Author
